Hello everyone,
I hope your weekend went well, mine went far too quickly!
and it's a special day for me as it's my birthday :)
I have a tutorial today for a little mini album made with envelopes.
I haven't it fully decorated inside but maybe it's just as well as this post
has a lot of photos already.
I used 3 DL size envelopes and I like to use PaperMill Direct ones but any good quality ones will do.
To start you score each envelope down the middle.
Then fold in half (with the flap to the inside)with a bone folder to get a good crease line.
Take a piece of scrap card and trace the outline of the flap.
This will make a template for cutting patterned paper for the flap as you decorate.
Take one envelope for the front cover and lay it flap side down.
Add a strip of double sided tape from left to right approximately halfway down.
Take approx. 1m of ribbon, find the centre and adhere to the tape.
This is your ribbon closure.
Now you can decorate the back and front of the envelopes.
The paper I used for the front and back cover is Jillibean soup.
I inked all the edges of each envelope with 'Barn Door' distress ink.
Measure 1.5 cms in from the spine and 2.5cms from the top and bottom
and mark with a pencil.
Using the large hole in the cropadile punch through the folded envelope.
Using this envelope as a guide, mark the holes in the other 2 envelopes and punch.
Layer the envelopes together and tie ribbon through the holes.
I left one end longer so I can loosen the ribbon if the book becomes a little bulky after decorating.
You can dab some wet glue on the ends to stop the ribbon from fraying.
Before I decorate a book I always gather up as many matching embellishments as I can.
(A great chance to use up that hoarded stash...)
It really does make decorating a book a lot quicker if everything is at hand.
This is the first page of the book, I have tags to make for journaling on the left hand side
and I'll probably add more bits and pieces as I go along :)
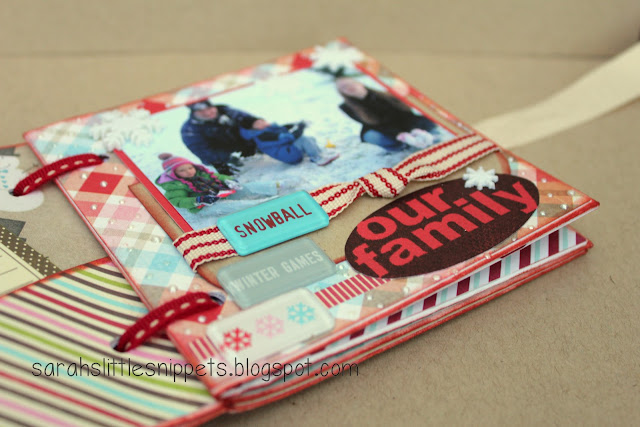
The second page is a pic of the family (except me...) enjoying the first snowfall one winter.
I still have to complete the journaling on the left hand side.
You can use the flap of the envelope for tucking in tags and little bits and pieces inside.
When I get the book completely finished I'll post all the photos of the inside
so you will have a better idea of how it all comes together.
If you made it to the end of this very long post
THANK YOU!
I hope I have inspired you to have a go at your own little book
and if you do, please post a link in the comments section below - I'd love to see it :)
Don't forget to pop back tomorrow for a link to Susi's blog
where she has made some handwarmers.
These are great little things, I've made some for the craft fair coming up
and I've had to hide them because all the family want one :)
Take care,
Sarah xx
Edited to add: Rene from Simply Cute has used my tutorial to make a fabulous calendar. You really must check it out!!!
I'd like to enter this in the following challenges:


