Monday, 22 March 2010

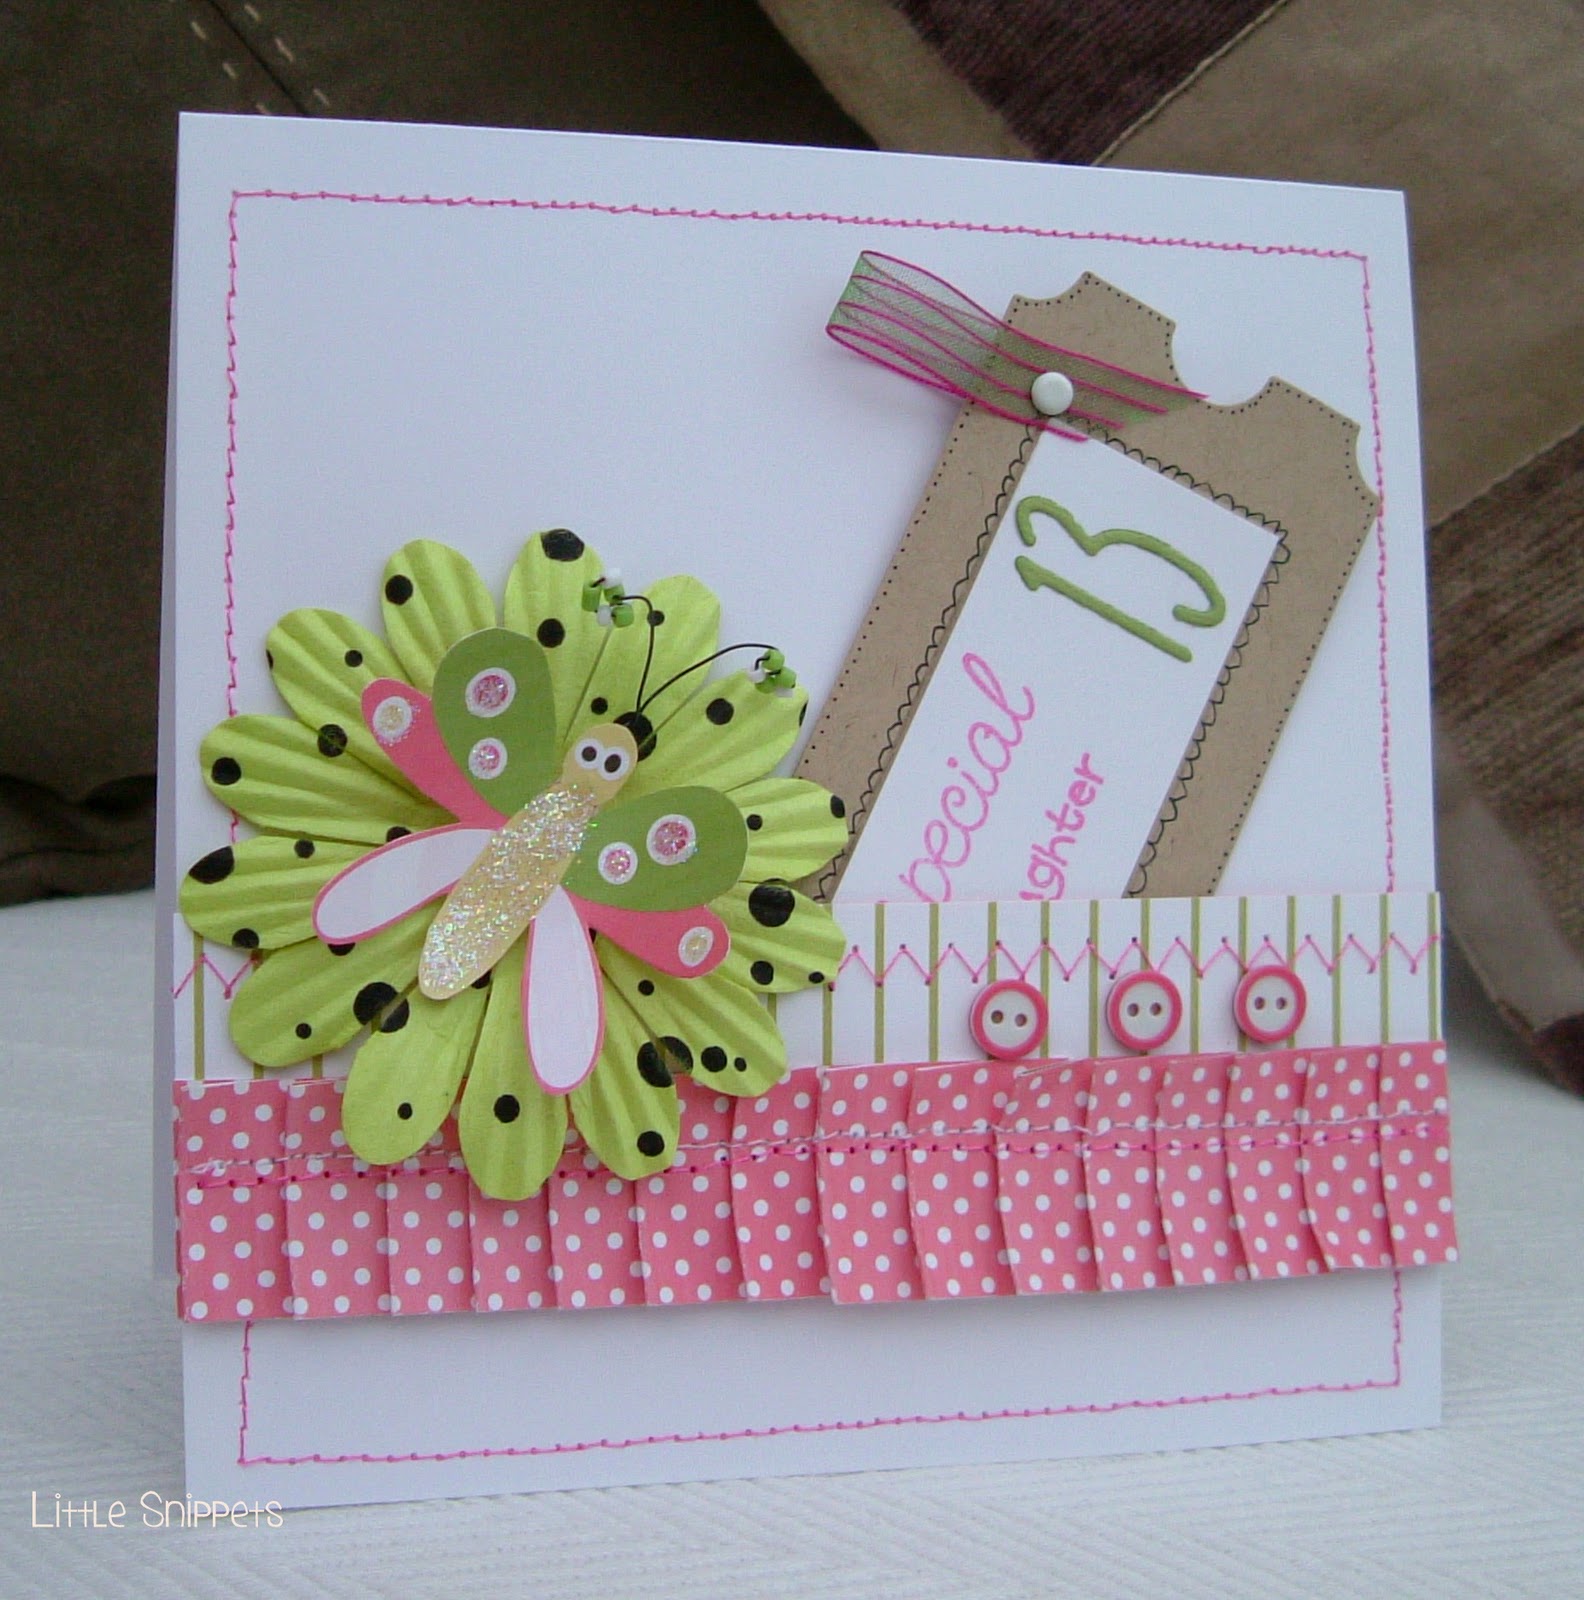
Life is in Bloom


A quick little card today!

The designer papers are My Mind's Eye 'Wild Asparagus', Kraft cardstock, the sentiment is by Printworks Clearly Defined, the snap in the centre of the flowers is by WRMemory Keepers.

Sunday, 21 March 2010

Birthday wishes & Thank you cards

I love this sketch ~ Fall-To Layout 83 on the Clean & Simple blog, and as I need two cards for this week, it is perfect for both:)

Birthday Wishes
The base card is white and the yellow paper is American Crafts. The other side of the paper is flowery, so I cut 3 different sized flowers and curled the petals up slightly. The centre of the flowers are 3 colours of card candy from Craftworkcards. The sentiment is stamped with pinecone versacolor ink and the stamp is from Printworks Clearly Defined. The green punched edge is made using the Martha Stewart 'doily lace' edger punch. 

Thanks
The base card is Bazzill 'vanilla' cardstock (I love that colour!) and the paper is DCWV  'Once upon a time'.  The pink card along the side is punched with the EKSuccess scalloped scallop edge punch. The sentiment is computer generated using 'primer print' and 'scriptina' fonts and raised with foam pads.  The three flowers I made by cutting irregular circles in different sizes, distressing the edges and crumpling them a little.  Then layered together and secured with a pearl brad in each.

The Flowers

Thanks for stopping by :)
x

Saturday, 20 March 2010

Creme Egg Box for Easter!


This little box is so tiny and cute, I love it :)

It is cut out with the craft robo, using a  template I got last year but I can't remember where from. As I don't have any Easter paper i had a look online and found some freebie download paper from Papercraft Inspirations Issue 71.

I printed the eggs on white card (I made the mistake of printing portrait and the eggs are running sideways!!) cut it out and taped acetate in the window.  Assembled the box all together and tied the top with some wool.  I printed the little tag twice and cut out the extra chick and placed it on top of the first for a 3D effect.  Then added a little sparkle with Stickles glittler glue.

Thanks for stopping by :)

Wednesday, 17 March 2010

2nd Birthday ~ Boy card

It's my little nephew's 2nd birthday soon and as he lives in Australia I've never met him.... maybe one day I will though :)

I made this simple little card using blue cardstock, and embossing the front using the Cuttlebug Argyle embossing folder. The green card is Bazzill embossed dots and the image is a Unity stamp (again!) which I paper pieced using a scrap of striped paper. Three little brads were added  to the white cardstock and the edges of all the white card were inked with Ice Blue chalk ink.  The sentiment is computer generated using 'My Own Topher' font.

Close up of the whale. I coloured the water spouts with a Sakura Glaze pen to give a little shine.

See you soon. xx 

Mother's Day card for Mum

Hi again!

Sorry I've been so lax in updating my blog but the truth is I've been so tired and unwell, I haven't been able to do much crafting.  I've had some blood tests done and it turns out I'm very anaemic and need an iron infusion at hospital some time soon. Hopefully that give me the boost I need!

I did manage to make this card for Mum for Mother's Day. She's always there for me and I love her to bits.

The image is a Unity stamp coloured with Koh-i-noor Pencils and Sansodor Oil. The double sided designer paper is by Memory Box and the retro flowers are punched (using the other side of the paper) and a brad pushed through the centre.  The fern leaves are punched with a McGill punch and the sentiment is from Elzybells.  The green strip is Bazzill embossed dots card and the edges are punched with a Martha Stewart scallop dot edger punch.

Thanks for visiting :)

Sunday, 21 February 2010

Thank you card and envelope


Now that the birthday's over, it's time to send out thank you cards.  This is what we came up with but because they're small we had to make the envelopes as well.

The base card is soft yellow cut to make a card measuring 11 x 7.5cms. The heart is a Unity stamp with some wire and beads tied around it.  The sentiment is Unity as well as the post box stamp on the envelope - I'm loving Unity at the moment and am waiting for the next Kit of the Month to arrive any day now :)

These next two cards were made by Lydia's friends ~ aren't they beautiful!
I think it's amazing they both used MME bloom & grow papers - they didn't know what each other was using.....

From Joanna
From Jessica

And finally...some photos from Lydia's birthday.  She hates any fuss and didn't want a party so we arranged a surprise meal at her favourite restaurant.  As an extra surprise Richard's parents met us there, the children don't see them as often as they'd like for they live too far away.

She was pretty embarrassed here, (sorry Lydia!) they played 'Happy Birthday' music through the speakers as they brought the cake, and all the other diners sang too. (he he)

Caleb was having a whale of a time taking pictures (most had to be deleted!!) he managed to get everyone in this photo but missed half of Granda Jim's face.

A family photo - it's rare for us to have one of these.

Thanks for stopping by ~ it was a long post today...x

Friday, 19 February 2010

Lydia's 13th Birthday Cards

I can't quite believe that Lydia is a teenager today! 

I was last minute as usual making her cards, I finished the one from Caleb and Phoebe in the early hours of this morning..... Inspired by my cousin Vicky's Blog, I blew the dust off my sewing machine and got a bit carried away sewing everything!  I made a matching bag for Lydia's present and sewed it too.  I do love the way the card turned out and I think I'll be using stitching on a few more projects.

It's funny how times have changed, for my 13th birthday I got my sewing machine :) but in those days we did 'Needlework' at school.  I think it's sad that those skills are not taught now......I'm beginning to feel ancient!! lol.


Close up of pleating

The card from Caleb and Phoebe - image is a Unity stamp which I paper pieced.

I also made this little bag to hold her present


This is what she asked for - lots of sparkle!


Thanks for visiting!
Sarah x

Tuesday, 16 February 2010

Golden Wedding Anniversary card


Richard's parents asked me to make a 50th anniversary card for a close relative a good while ago, but I can only show it now as the special anniversary is today.  Congratulations Joyce and Joe and may you have many more anniversaries to come!

Thursday, 11 February 2010

Cards from the past...

I haven't had much time to craft lately and the card I have made I can't show until after next week in case the recipient should see it! 

Caleb has been off school for 3 weeks with a chest infection (thought it was viral for the first 2 weeks and then was finally diagnosed in the 3rd week and he was given antibiotics which cleared it up). So with Phoebe and him at home I was spending my time keeping them apart (Phoebe torments her brother terribly just to get his attention).  Now that they're both back to school/nursery I should be doing more crafting but with walking/pushing a buggy to and from school this week, 3 times a day I'm knackered!! Roll on half term on Monday and Tuesday for I've a lot to catch up on....

I was looking through old photos and came across some cards I'd made quite  a while ago and I thought I'd post them.....


Thanks for visiting
x

Wednesday, 27 January 2010

Altered Gift Bag

Original Bag

In the last post I said that Mum had bought a plain bag for the engagement gift and asked me to alter it, so here it is!

It's cerise pink and I found it very hard to photograph, it's definately not as bright as the photos show.  As the original bag was too tall (the gift was lost inside it!)  I resized it.  Here's a quick tutorial....

Step 1 - Remove the handles and cut 3" off the top of the bag (or however much you want, to make it smaller)


Step 2 - Mark 3 cms down from the top and score across with a bone folder/embossing stylus and ruler, on the back and front.  You could also use the scoring blade on your trimmer.


Step 3 - Fold along score lines and tuck the top edge in.


Step 4 - Using the cut off piece as a template, mark the position of the holes and punch with a crop-a-dile or hole punch.


Now all that's left is to decorate and add your handles!

I used sizzix dies (again!!) to decorate and some stickles glitter glue for sparkle.

Hope the instructions make sense :)
Thanks for visiting, x